5. Add & Invite Users to Sales.Live
Adding Users
Once you've set up a User Group with the appropriate Applications that you want to invite users to, you're ready to add Users.
You can do this under the User Menu Item from the Plus.Live Administration Menu.
To get to this menu, click the User Settings Icon (Person with Settings Cog, in the top right hand corner of the screen), and then click on the Administration link.
To get to this menu, click the User Settings Icon (Person with Settings Cog, in the top right hand corner of the screen), and then click on the Administration link.
The below menu will display. Click on the Users menu tab:
.
This screen is displayed:
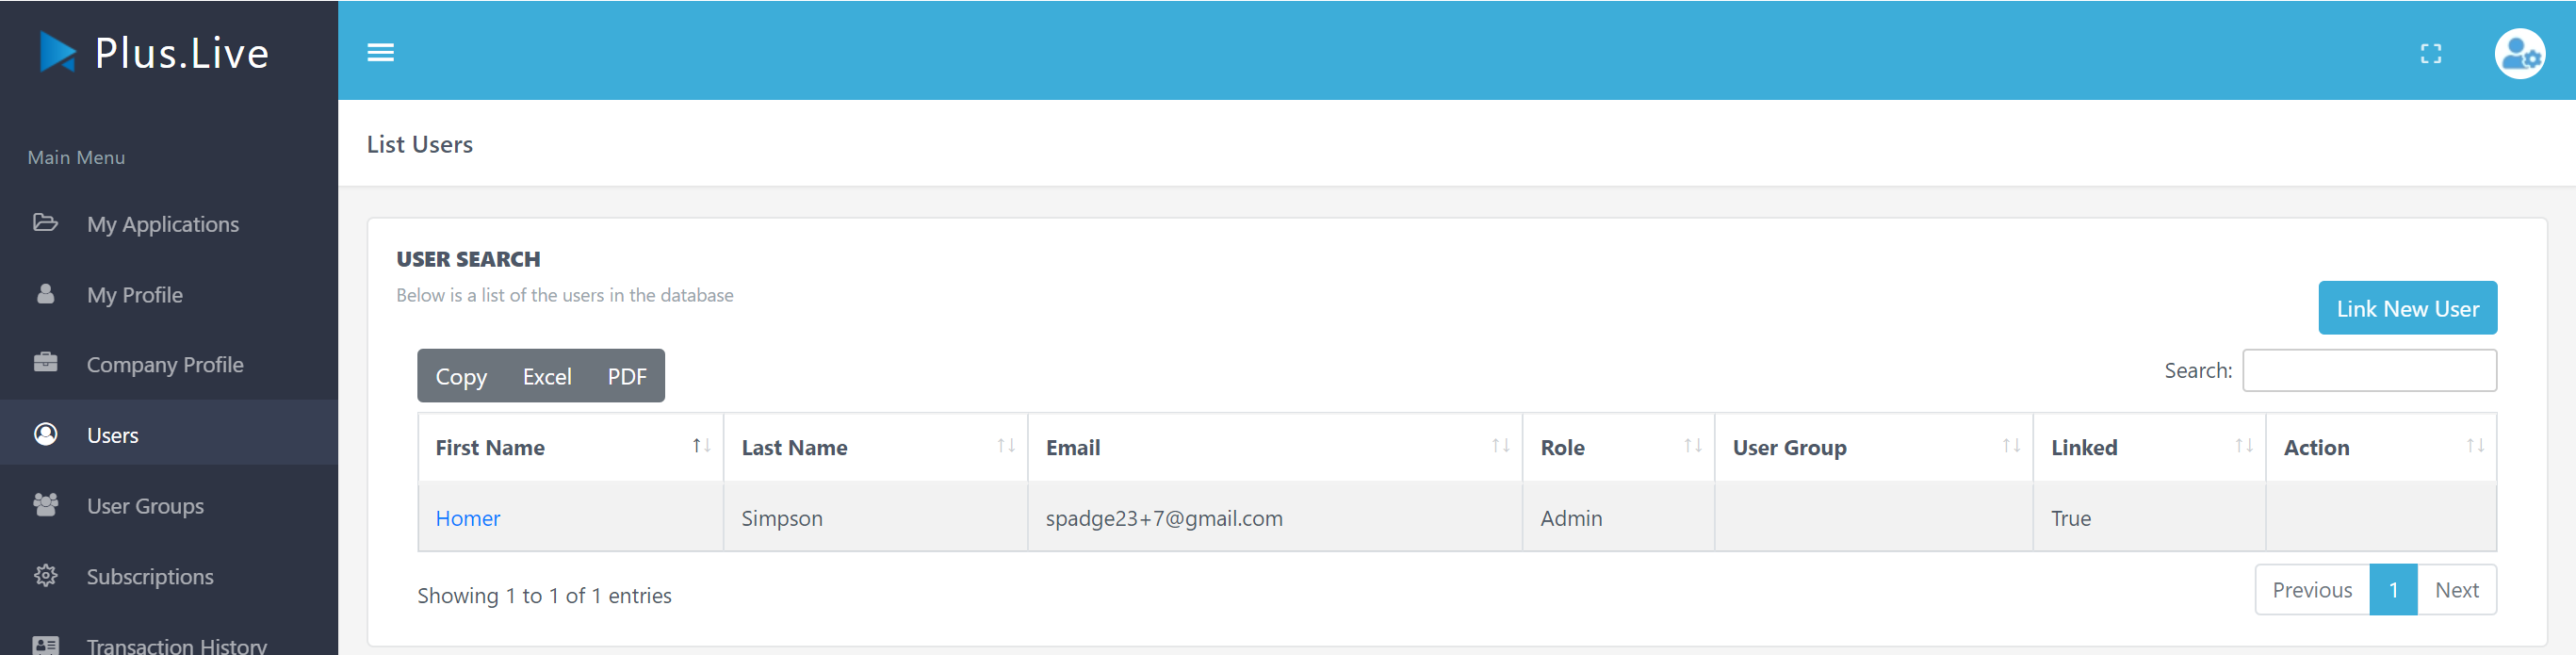
To Add / Invite a New User to your Portal, click the Link New User button in the top right hand corner of the screen.
Steps:
- Choose the Role. Most Users will have the General Role, unless you are adding them as another Administrator of the Plus.Live portal.
- Select the User Group that you would like the users to belong to. This will give them access to the Applications in this User Group.
- Then you can Add as many User email addresses as required.
Each User will then receive an email inviting them to join their Portal, they can click on the link and follow the joining process.
Tip: You can invite more than one User to your Company Portal at a time. Just keep adding email addresses with a space between each one.
Need further information?
Submit a ticket (see below) or if you’re not reading this on our online Help Guide, pop an email to Support@Plus.Live.
Related Articles
5. Add & Invite Users to Snapshot.Live
Once you've set up a User Group with the appropriate Applications that you want to invite users to, you're ready to add Users. You can do this under the User Menu Item from the Plus.Live Administration Menu. To get to this menu, click the User ...Adding and Inviting Users to your Plus.Live Portal
Article Summary This article explains how to invite other users and to add them to the Plus.Live Portal, as well as to other Applications. Adding Users Once you've set up a User Group (see HERE for more about User Groups) with the appropriate ...5. Add & Invite Users to Forecast.Live
Adding Users to Forecast.Live is easy. Once you've set up a User Group (see HERE for more about User Groups) with the appropriate Applications that you want to invite users to, you're ready to add Users. This is done under the User Menu Item from ...4. Set Up User Group(s) in Sales.Live
In Sales.Live, you can control what Users have access to which Applications by using User Groups and Users. This is done at the Portal Level. To see how to set this up, CLICK HERE and follow the steps. Need further information? Send an email ...Preparing a Detailed Sales Order
Article Summary This article explains how to do a Detailed Sales Order, under the Detailed Entry Menu. The Detailed Entry screen brings the Desktop transaction entry screen "experience" into a Cloud/Web browser interface. Users who need the full ...